Casting a Sculpture in Bronze
Prepared by Leslie Bruning, Sculptor
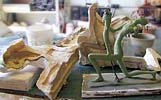
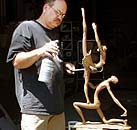
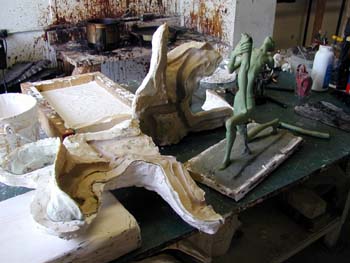
The original sculpture to be cast in bronze may be conceived in clay, wax, wood, plaster or some other material. A sectional mold may be made around the sculpture out of plaster if the shapes are not too complex and the surface texture is not too detailed. If detail and preciseness are required, a flexible rubber mold is formed on the piece.
 I. FLEXIBLE RUBBER MOLD
I use a brush-on rubber compound that is applied with a narrow spatula. The sculpture, if small, may be molded as one piece, but generally two or more parts are necessary. Dividers, known as shims are placed between each section to keep the rubber parts from sticking together. Each rubber section is covered with a thin (1/2” to 1”) layer of plaster to create a hard shell to hold the rubber sections in place when the original sculpture is removed. This is called a mother mold.
 II. THE WAX
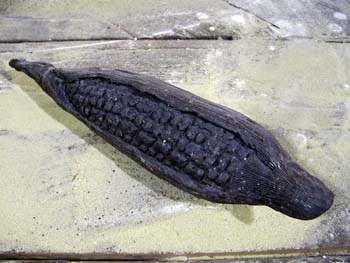
A release agent (wax,etc.) is applied to the inside of the rubber mold, and hot wax is poured or painted with a brush in the rubber mold to create the thickness that we desire in the bronze casting. This is built up to one-eight to one-quarter inch thick. If a plaster mold is being used, the plaster must be soaked in cold water before applying hot wax. The water in the plaster acts as a release agent. When the wax has cooled it is removed from the mold and the final touch up and detailing is completed. Now it is ready for the ceramic shell process.
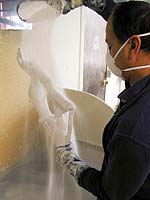 III. CERAMIC SHELL MOLD
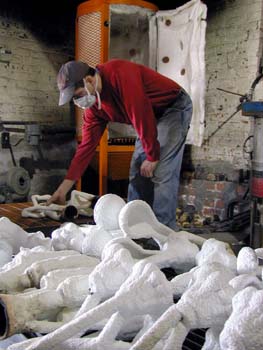
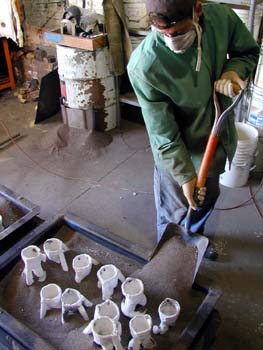
Small sculptures are cast as a single piece but large sculptures are cut into sections in the wax stage and are cast separately. They are welded together after casting. On each wax piece a wax cup is mounted on sprues and attached to the wax sculpture. This is necessary to funnel the bronze into mold. They are joined with hot wax. Vents are also attached to allow air and gases to escape during the pouring. Core pins are pushed through the wax to help suspend cores inside the pieces. The wax surfaces are shellacked to keep the wax from resisting the ceramic shell slurry.
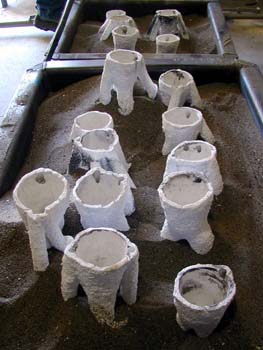
The individual wax pieces are then dipped into a creamy slurry of colloidal silica and silica flour. This liquid sticks to the wax which is quickly covered with a stucco coat of fine silica. Usually two coats of fine silica and three or four coats of course silica is used to build up a quarter inch thickness of shell. Each shell coat is dried before the next can be applied.
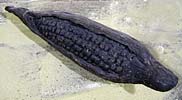
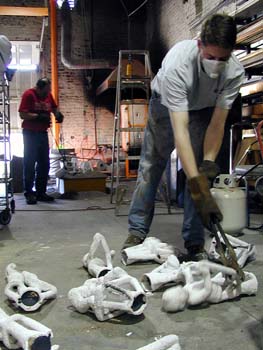
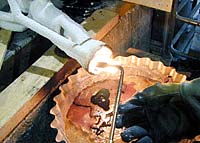 IV. THE BURNOUT
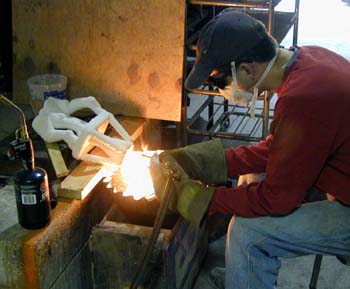
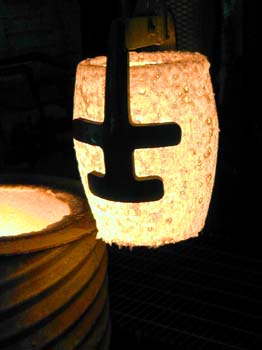
A torch is used to melt the wax out of the mold cup and to release the handle that has been stuck in the cup. The shells are placed up-side-down in a fiber kiln and flash fired. It is necessary to get the kiln very hot immediately to start the wax melting before it has a chance to expand and crack the shells. If cracks develop they can be repaired after the firing with fiberglass matt and slurry. The wax from the shells drains to a container of water under the kiln. The temperature is raised to at least 1500ºF or until they are glowing red. The wax is lost from the mold and the hollow cavity is ready for the bronze.
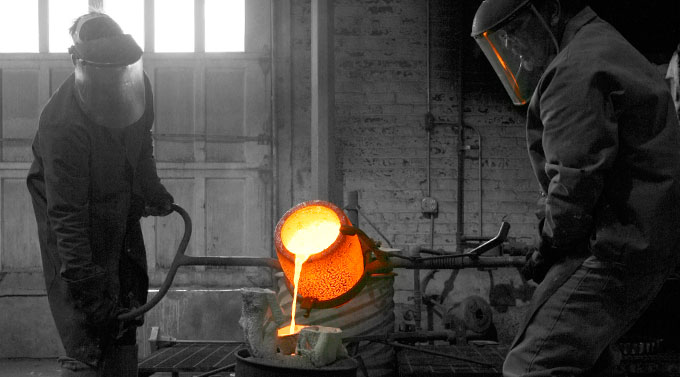
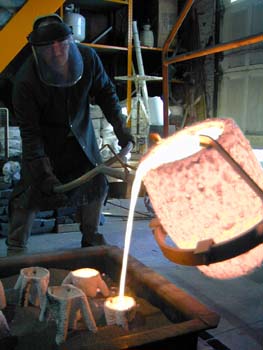
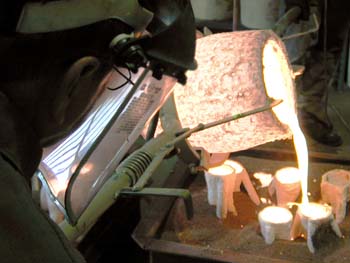
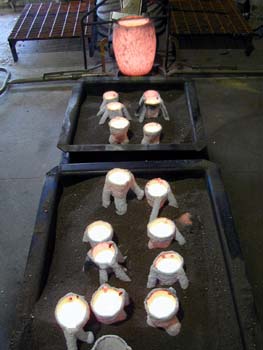
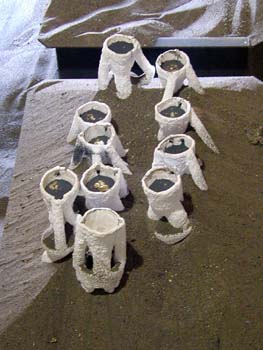
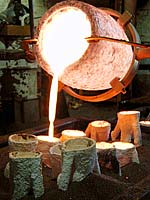 V. THE BRONZE POUR
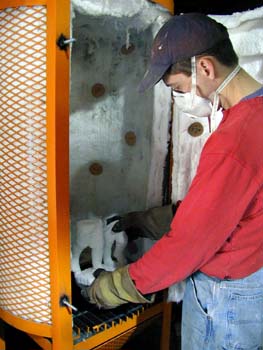
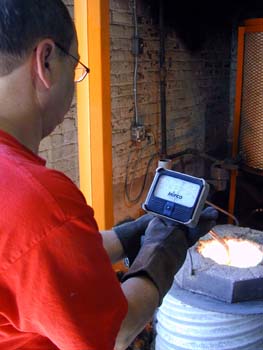
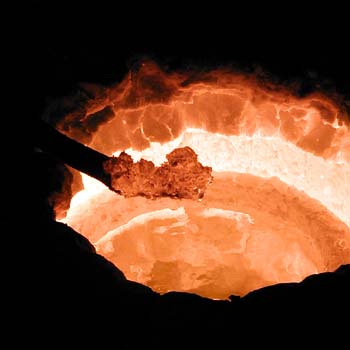
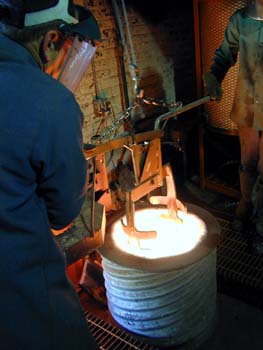
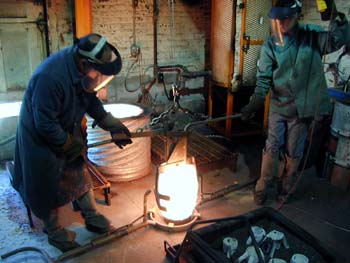
A crucible furnace with a silicon carbide crucible is used to heat bronze ingots to about 2000ºF. Tongs are used to pull the glowing crucible from the furnace and place it in a pouring shank. After skimming the surface of the liquefied metal, two people pick up the crucible with the shank to begin pouring into the molds. In the meantime, the shells have been preheated and packed in sand. The sand keeps the molds upright, reinforces the shells, and also stops the metal from flowing on the floor if the molds leak. A few minutes after the pouring is finished the bronze starts to solidify and shrink, causing the shells to break. After cooling for at least twenty minutes the shells are carefully broken away with a hammer and discarded. The cups, sprues, and vents are cut off the sections with a saw, grinder or plasma cutter.
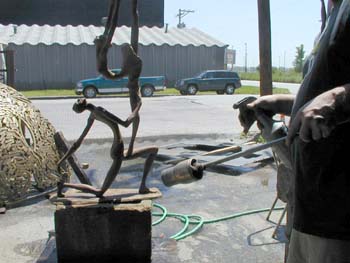
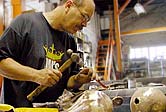 VI. CHASING THE BRONZE
Chasing is the finish surface treatment and includes grinding, sanding, filing, re-texturing and welding. This is very labor intensive on large multi-piece casting. The finished sculpture should look as if cast in a single mold.
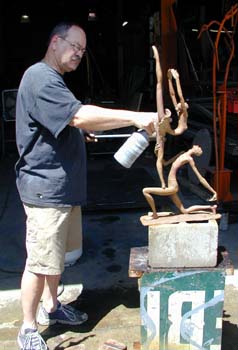
 VII. PATINATION
The final steps to apply various chemicals to the surface of the bronze to “age” it. Generally liver of sulfur (sulfated potash) and ferric nitrate are sprayed on the heated bronze surface for the traditional browns. Cupric nitrate is used for a verde or antique green patina. The surface is then sealed with wax.
Step-by-Step

Click on the circles above for a more detailed slideshow of the Lost Wax-Ceramic Shell Method or bronze casting.